
What Is the Progression of an Acoustic Neuroma? An acoustic neuroma (also known as a vestibular schwannoma) is a benign (non-cancerous) tumour that arises from the balance and auditory nerves that supply the inner ear. It normally grows slowly and does not create any symptoms. The tumour is caused by an overabundance of Schwann cells,…

How to Use Twitter to Generate Traffic
Creating content for your business blog is crucial, but increasing traffic to your blog is critical. Twitter is an excellent platform for increasing traffic to your site and increasing awareness. This post will look at how you may utilize Twitter to increase traffic to your site. Use Short Provocative Tweets Tweets are rather brief, and…
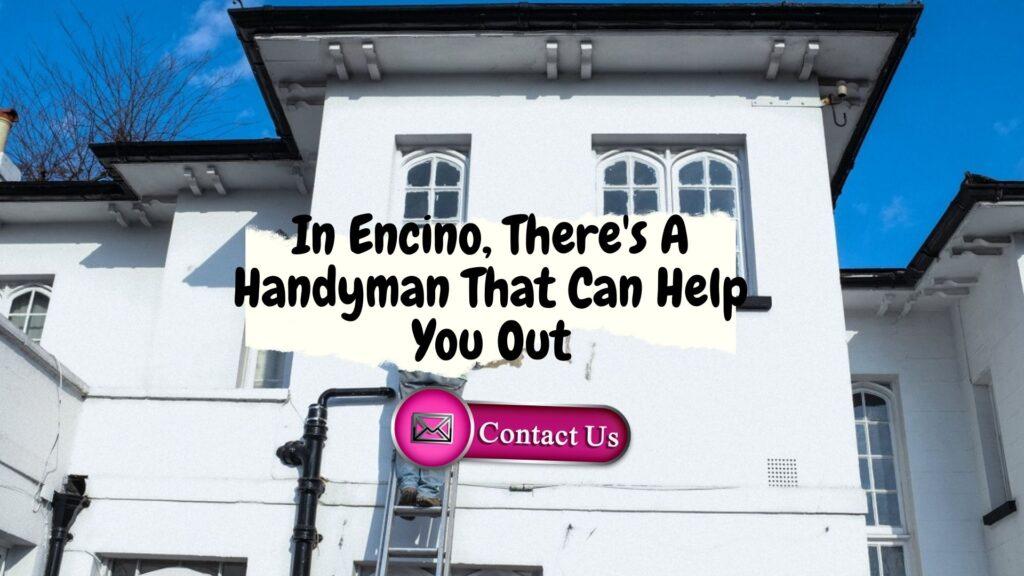
In Encino, There’s A Handyman That Can Help You Out
In Encino, There’s A Handyman That Can Help You Out Handyman Services: You’ve come to the correct place if you’re looking for a handyman in Encino, California. They can help with various jobs, from minor house repairs to bathroom remodels, managing a wide range of home repair demands. You won’t have to worry about the…

Tan Kote vs. Resolene What You Need To Know
Tan Kote vs. Resolene Which One Is Best Tan Kote vs Resolene if you want to know which one works best read on, there are a variety of top coatings available for leather items. It might be challenging to determine which topcoat is best for you. When it comes to leather care, it’s hard to…

What Every Leather Crafter Needs: Tools For The Job
Craftsmanship Equipment What Every Leather Crafter Needs right tools for the job, as a novice you may find it challenging to know the leatherworking tools you’ll need. An important first step for aspiring leatherworkers is to purchase a starter kit online. You may be left in the dark about crucial details in some instances. In…