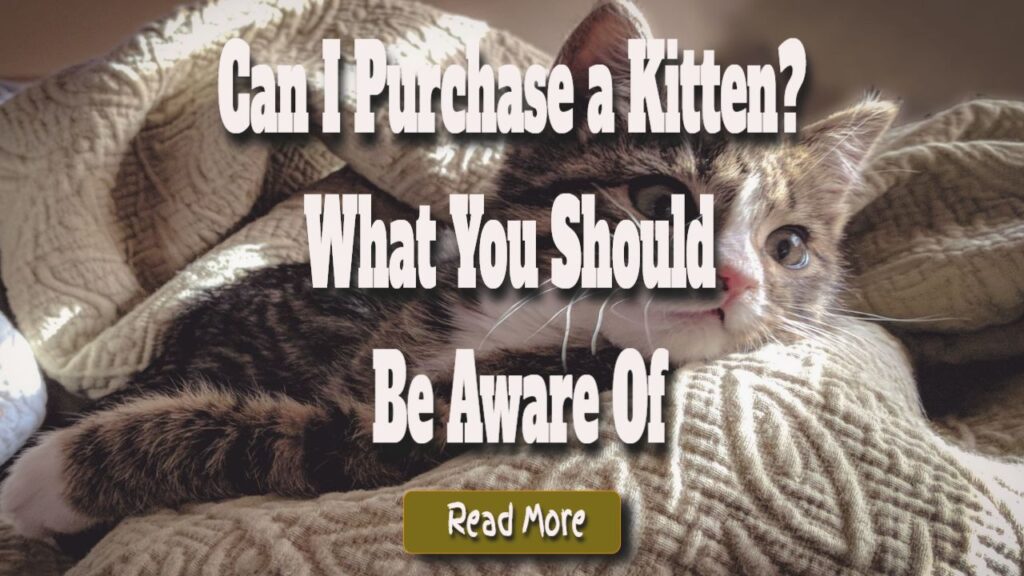
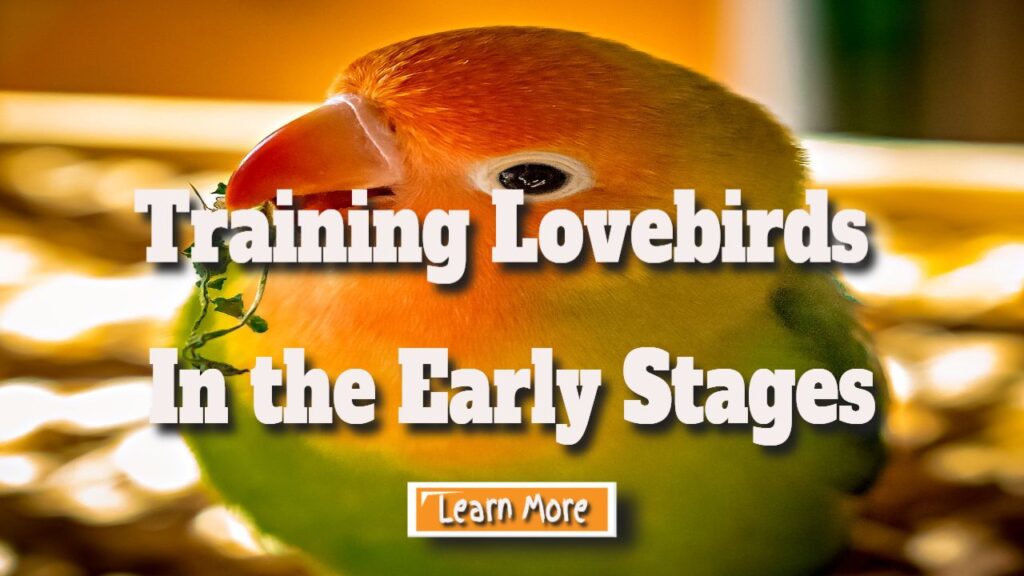
Training Lovebirds in the Early Stages
Training Lovebirds in the Early Stages Depending on the personality of your new bird, where it has previously lived, its age, and how it is introduced to your home, the first few days at home with your new bird may be quite straightforward or a little uncomfortable for the bird.
Birds are highly adaptive, and if you’ve created a friendly environment for them, they should have no issue settling in.
Allow the bird a few hours to adjust to its new surroundings when you initially bring it home.
Don’t try to play with the bird straight immediately; he has to locate the food and water bowls as well as an appropriate perch. He might also want to play with his new toy.
Many people recommend that you don’t play with the bird too much in the first few days, although this depends on the bird.
If you have a young friendly bird who enjoys playing with your hands, you should do this.
Allow time for a rescue bird or an elderly bird with limited hand and foot skills to become acquainted with its environment and new family.
Learn about your bird’s personality without making assumptions about him.
Is he self-sufficient, or will he require training? Is he interested in eating healthy, or do you need to teach him to be open to new experiences?
Don’t expect it to be the same as your other birds or birds of the same species. Each bird is distinct.
Examine your bird’s new home to confirm that everything works properly.
Is he terrified of a particular toy?
Are the perches properly positioned?
Are the bird’s food and drink tainted?
Is he in a position where he can readily access them?
Please pay attention to how the bird travels around in its environment. If something needs to be repaired, do so as soon as possible.

A fearful bird is not the same as a timid bird, but a timid bird may appear fearful.
If you don’t focus on it, a shy bird will show some interest in family life.
Is the bird keeping an eye on what you’re doing?
Is he content to entertain himself as you wander about the room?
He may not be used to human contact, but he is intrigued by what you have to give.
A fearful bird may crawl to the back of its cage to observe you to see if you are as nasty as you appear.
If you offer a snack to the shy bird, it may be hesitant to accept it. This is a great bird to have because he wants to join your flock but is wary of his new surroundings.
Begin by acquainting this bird with your presence. Allow him time to acclimatize to family life before you place any expectations on him.
It is permissible to bring your hand closer to the cage to deliver food and drink to the bird, but not to touch him.
By whispering to it, you can avoid establishing direct eye contact with it. Make no obvious movements. The idea is to make the bird aware of your presence.
Once the bird has become accustomed to your presence, gently touch it on the chest or head, then slowly withdraw your hand.
You want the bird to learn that your engagement is not frightening and could possibly be enjoyable. Rep this procedure until the bird is accustomed to the interaction.
Once the bird has become accustomed to being lightly stroked, attempt to encourage it to climb on your finger or, at the very least, let you scratch its head.
You can gradually encourage the bird to become your friend if you move gently and without fear. Your proximity and touch should become a habit for the bird rather than something imposed on it gradually.
Allow the bird some time to get to know you instead of expecting an immediate response.
Taming a Fearful Bird
A terrified bird is not accustomed to being touched by humans. Perhaps it was raised by its parents rather than being hand-fed, was taken in the wild, or spent so much time as a “breeding bird” that it forgot what human touch is like.
Perhaps the previous owners did not touch the bird, or the bird has a history of unpleasant human interactions.
In either event, this bird must first develop trust in its new environment and human group.
A terrified bird may twirl around the cage as you enter the room. Clinging to the back of the cage increases the chances of him staring at you nervously and being eerily silent so you don’t see him.
If there is someone close, he will freeze in place. Terrorized birds may hiss, snap their beaks, and make other scary noises when you service their cage. He has no interest in you. He want for you to leave.
Handle a terrified bird with the same caution as a shy bird. Handle this bird with care and avoid attempting to “tame” it.
Allow the bird a few weeks to adjust to its new surroundings.
When you’re ready to handle the bird, proceed with caution. If you believe you’ve been bitten, instead of engaging the bird with your hands, attempt “stick training.”
Wear no gloves! Gloves frighten birds and make them fear your hands even more.
Furthermore, if you use gloves to tame your bird, you will have to start over if you wish to use your ungloved hand since the bird will be terrified of your hand because it is so used to the glove.
Do not try to tame the bird until he has become accustomed to his new surroundings.
Allow him to eat and drink as much as he wants. During the first several weeks, try not to modify his environment too much.
You’ll notice signals that the bird is ready for a closer look after a while.
When you enter the room, he will feed or preen himself, be curious when you operate the cage, and even approach when you offer him a treat. It’s time to go a step farther and find out what the bird will accept.
Progress slowly with this type of taming, and the bird should ultimately feel at ease with the thought of having a human friend, or so we hope!
Perching Programs
The Step Up is critical to your bond with your bird and may one day save his life. The “Step Up” is straightforward: your birds will perch on your finger or hand.
Birds are born knowing nothing about how to achieve this. As a result, you’ll need to teach them. Because it mimics a perch, the bird will immediately step onto your finger.
Some birds, on the other hand, learn at a much faster rate than others. Baby birds learning to fly will notice this right away.
When you have a newborn bird, it normally comes to you and knows precisely what you want it to do. Every time you give your finger or hand, repeat “Stand up” to encourage the technique.
It’s not difficult to teach a bird how to stand. Place your bird on a perch or your finger instead of a flat surface. As a “perch,” use your second finger or hand to offer light pressure to the bird’s lower chest/belly area, causing it to feel off balance.
When a bird loses its equilibrium, it normally lifts one of its feet.
Remove your finger from under the foot with care. The bird will cling to your finger with one foot while balancing on the perch with the other if you elevate your foot. “Get on with it,” you say. Rep this several times a day until your bird realizes that “Step up” implies “stand on your hand.”
Keep the following points in mind as you learn this behavior: First, ensure that your hand is a sturdy perch. If you’re concerned about the bird on your palm, he will be as well.
If you falter or drop the bird out of fear, it will remember and may refuse to climb back onto your palm or bite you.
Also, practice the Step up with both hands at the same time. If you train it with your right hand, the bird may be apprehensive to walk up to you with your left. Remember that birds are creatures of habit, therefore try to train the behavior in a range of environments.
Once the bird has mastered walking on your hand, have friends and family members repeat the activity, making sure they can safely hold the bird.
Your bird’s stick training
Pole training is similar to “step up” training, however, you use a perch or dowel instead of your hand. For certain birds, this may be the first kind of step-up training; perhaps the bird is a little hand-shy or prone to biting; however, stick training should come after hand taming for the majority of birds.
Choose two or three different shaped sticks or dowels, at least one of which should be exceptionally long. The idea is that if you ever need to rescue your bird from a high place, he will be much easier to rescue if he has been stick trained.
Stick training will almost probably be a breeze for your darling bird. Sticks may frighten other birds.
That’s fine; you just need to acclimate the bird to the presence of the sticks. Start by putting the sticks throughout the room. For a week, keep them a few feet away from the cage.
Then, gradually bring the sticks closer to the cage until they almost touch it. Move the sticks to the top of the cage or even inside the cage once the bird has become accustomed with its surroundings.
Allow the bird to interact with the sticks if it so desires. Then, urge your bird to balance softly and comfortably on the stick. It should no longer be an issue at this point.
Once you’ve persuaded the bird to stand on the pole, employ the “ladder technique.” You tell the bird to land on your hand, then the stick, then your hand, and so on until the game becomes a game.
Do this for a few minutes multiple times a day, but don’t overburden your bird. Try other species with varying colors and textures once the bird has mastered climbing onto a perch or dowel.
Use caution when utilizing slippery perches, since a bird may be afraid to step on a slick surface. Repeat a few times a week to reinforce the behavior.
A program that acknowledges and rewards outstanding behavior.
If you’re familiar with positive reinforcement training for dogs, you should know that it may also be used to educate lovebirds. Positive reinforcement is very effective with cognitive species such as birds.
Positive reinforcement aims to reward positive conduct while ignoring negative behavior.
In an ideal environment, when unwanted behavior is not rewarded, undesirable behavior declines, and desirable behavior increases. The key to employing this strategy with lovebirds is to rapidly determine the desired behavior that needs to be rewarded and then select the suitable incentive.
Some birds might get a treat, while others might get some attention.
Here’s an example of how to use this technique: Assume a bird is calling at you to pay attention.
You’ve determined that the crying isn’t the result of the parrot being unwell, lonely, or injured. Screaming is usually rewarded in parrots; when the bird screams, the owner may scream back or face the bird – ah! Screaming gets a lot of people’s attention!
The bird isn’t aware that your yelling is a reprimand. He believes that your yelling is a wonderful way for you to join the yelling party.
When you yell at the bird, it encourages you to yell more. To end the yelling, you must reinforce the peaceful moments.
A quiet parrot is easy to dismiss or overlook. Instead of disregarding the quiet intervals, approach the parrot and say, “Good silence!”
If you do this enough times, the bird will learn that when it is calm and playing by itself, it receives more attention than when it is screeching.
Remember that you cannot simply ignore the shouting and calm periods; lonely parrots should yell to attract attention. If you pay enough attention to a quiet parrot, it will have less need to cry for attention.
This method has the ability to impact any form of behavior, even individual conduct!
A Lovebird’s Discipline
It is impossible to punish a bird. Yes, it is right. It isn’t possible. It just does not work. Lovebirds are instinctual and habitual creatures, and the word “punishment” means something very different to them than it does to us.
Punishment for them includes not receiving what they desire, despite the fact that they must acquire what they seek in order to properly learn.
Several traditional “punishments” have been around for a long time and have proven useless. Here are a couple of examples of this:
Water should be sprayed on the bird.
This approach satisfies one of three requirements.
The bird believes it is bath time, which many birds like.
The bird develops a fear of water.
Although the water shock stops the movement, the bird does not learn and resumes its behavior. Water splashing is intended to be “aversion therapy,” but it does not work on birds.
with a flapping beak
The beak is a sensitive part that should be handled with care. Please do not tap or flick your bird’s beak to punish it.
Some birds enjoy gently tapping their beaks, however, this is done for bonding rather than punishment.
Drop or wiggle
When a bird bites the hand, it is standing. The owner will either wiggle or drop the bird. This is not a penalty. This is done to protect the bird from future bites and to teach the bird not to bite.
So, squirming or dropping to avoid a bite is appropriate if done delicately, as long as you understand it is not punishment.
Force
Never use physical force on a bird. This is animal cruelty, and the birds will only learn to dread you.
Instead of constantly pointing out what the lovebird is doing incorrectly, start pointing out and appreciating what the parrot is doing correctly. As a result of this, the bird will learn much more than “punishment.”
Toilet training
Lovebirds, contrary to popular thought, can be successfully toilet trained.
It just takes a little time and effort, but it’s a lot easier than you think.
Potty training can be accomplished in a variety of ways; you must select the best one for you.
The verbal cue
You can teach your bird a vocal cue for “business,” giving you control over when and where the “business” is done in the future.
Choose an appropriate cue or phrase, such as “Go poop” or “Bombs away.” When you notice your bird getting ready to do its business, pronounce the cue word and lavishly praise it.
Eventually, the bird will associate the trigger word with the term “business.”
When you provide the signal, the bird should drop the bomb in the location you select.
The physical manifestation
If you want your bird to land on something specific, such as a paper plate or a piece of newspaper, prepare the paper ahead of time and then wait for the bird.
If you do this many times, the bird will understand that you are expecting a “deal” when the paper is under it. You can also use a verbal hint to enhance this strategy.
Remember that if a bird “accidents,” you should not “punish” or reprimand it. This is unavoidable.
Training is not a precise science. Each bird is unique, and some may never develop this habit, but others may pick it up quickly.
Caution: If you are too harsh in teaching your bird to “go” when you issue the command, he may become ill if he “holds it in” for too long.
Potty training should not be overly strict. Allow the bird to “go” freely in and around the cage.
The post Training Lovebirds in the Early Stages appeared first on https://gqcentral.co.uk