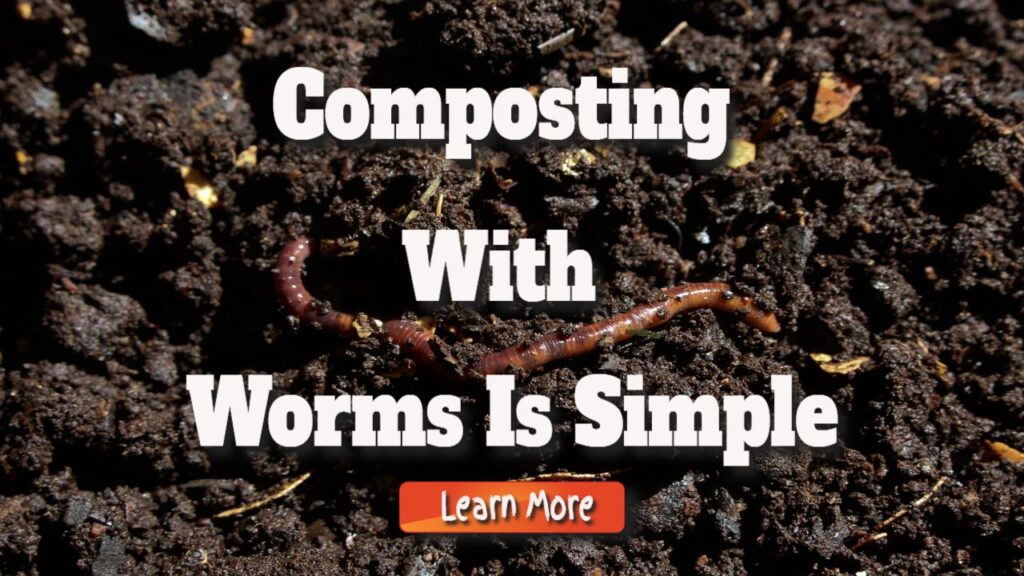
Indoor Composting With Worms Is Simple With These Steps
Indoor Composting With Worms Is Simple With These Steps: A worm compost bin, sometimes known as a worm composter, can be inexpensive and straightforward to maintain. Worm composting can be done in a variety of ways.
The instructions for constructing an indoor worm compost bin are provided below. Worm composting buckets are also available for purchase. You should keep your worm bin indoors since you don’t want the worms to freeze or overheat in the summer.
Because the composter will be producing compost and worm “tea,” it should be kept in a basement or other inconspicuous location.
What you’ll need
To begin worm composting, first acquire, borrow, or make do with the following supplies:
Two plastic containers, one taller than the other and intended to fit within the shorter container.
Why are there holes?
Holes at the bin’s top allow air to enter, allowing the worms to breathe. The perforations in the container’s bottom allow excess liquid to drain out, protecting the worms from drowning. The liquid can be manually adjusted, however, it is difficult to get it perfect. As a result, the perforations make it simple to maintain the tank.
Both types of perforations are covered with a fine vinyl screen to prevent the worms from escaping.
The shorter, lower container does not require a lid. A rubber or plastic container with a depth of around 15 cm, a width of 25 cm, and a height of 5 cm is appropriate. Because of the extra length, you may skim off the surplus liquid or “worm tea” and reuse it (e.g., in the garden, for plants, shrubs, etc.).
To prevent the worms from escaping, the upper tub should have a lid. It should also be pliable enough to allow you to drill holes in it. An 18-gallon container 15 inches deep, 20 inches broad, and 15 inches tall works well.
Drilling the above holes requires a one-inch diameter drill bit and an eighth-inch diameter drill bit.
Making of a screen
The type used for window screens is acceptable; however, avoid using metal, which may corrode if exposed to moisture in the container. Only four 4 inch by 4 inch screen fragments will be required. Why would you want to use a filter? If the openings are not covered, worms can escape.
To keep the screens in place even when they are moist.
Shreds of paper
Fill the bin three inches deep, then add a little more each week as you feed the worms. Almost any type of paper will do, but avoid hefty, glossy, or coloured paper.
A single speck of dirt
You only require one pound. Just make sure it’s free of any potentially hazardous ingredients. If everything goes as planned, the worms will soon be creating soil (compost).
a little quantity of water
To establish a favourable environment for the worms to thrive, water is required to moisten the paper and soil. Soak the paper and then drain it before using it.
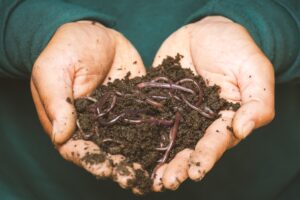
Worms
One pound of red annelids is recommended since they consume waste quickly. Red annelids are available from worm breeders online or from another worm bin owner.
Be on the lookout for invasive worm species such as the Asian Jumping Worm, sometimes known as the Alabama Jumper or Georgia Jumper. Worm bins not only produce more worms, but they also produce excellent compost.
The troweling
I had to move compost around in the garbage can as needed.
Food waste container.
Collect vegetable and fruit scraps in a small container with a tight-fitting lid.
Why not simply toss the food in the worm bin? Worms prefer to be left alone and should only be fed once a week. Collect food scraps for a week in the food scraps bin, then feed the worms once a week.
Preparing the containers
The steps for preparing the bins are as follows:
Drill a 1-inch hole about 5 inches from the top of the massive container.
Drill a second hole on the opposite side of the first.
Drill four 1/8-inch holes towards the corners of the container near the bottom.
Wrap a vinyl screen across each hole and fix it with waterproof adhesive. Before proceeding to the next stage, ensure that the adhesive has cured.
Insert the tall container into the smaller container. No holes should be drilled in the short container.
Create the paper, soil, and water before adding the worms.
Sift shredded paper, soil, and just enough water to wet everything together. Fill the large container to a depth of about six inches with the mixture. Before feeding your worms, add them to the mixture and give them a day to become acclimated to it. Make certain that the mixture is moist but does not form water puddles.
Worms are being nourished.
Collect food scraps such as vegetable and fruit scraps, tea bags (without the clip), and coffee grounds in your food scraps container while you prepare and clean up meals.
Animal by-products (fat, bones, dairy, meat, and scraps) should be avoided. Worms may also require more time to devour woody or dry things such as stems.
Worms will not eat plastic tea bags, coffee filters, or coffee grounds, nor will they eat grocery store labels.
No more food should be added to the worm bin until the previous meal has been finished.
Place the rubbish in the worm bin.
With a trowel, carefully construct a hole for the scraps.
ALL food scraps should be covered with moist paper and soil. Fruit flies are attracted to unprotected food waste but not to covered food waste.
Continue adding soil and damp paper until the worms have made enough compost to cover the food scraps.
Keep track of what the worms will and will not eat. Remove any crumbs that your worms haven’t eaten in a long time, as they may reject this diet. If the remnants are too huge, cut them into smaller pieces.
Replace the lid of the worm bin.
Rinse out the food waste container for the upcoming week.
Look after the garbage can.
Scoop out the liquid from the bottom container once every few months. When the worm bin is finished (the compost has reached the bottom of the top holes you dug), do the following:
Feed the worms on one side of the bin for a few weeks to draw them there.
When all of the worms have migrated to one side, collect the compost on the other side and use it in pots, your garden, or your yard.
You may also sift compost and worms by pouring them onto a piece of newspaper, but this method is a little messier. Make sure to gather the compost at the end of the week before feeding the worms again.
The post Indoor Composting With Worms Is Simple With These Steps appeared first on https://gqcentral.co.uk